Hello again from winterland– no snow but plenty of cold, it has even gone down below 20 degrees F already. Inside, the lowest it got was in the mid 50s.
With a new stove build in progress, the place has relied completely on sun for passive heating, and yesterday, the first full sun in several days, I even got out a fan, and was moving the warm greenhouse air into the bedroom. Needless to say the sun gave me lots of surplus electrical energy with the new solar array I installed about three weeks ago.
this project is pretty ambitious, a smaller footprint and less passive mass, but with some luck the water tank will provide an active absorption and transfer of heat to the mass of the floor.
For now the plan is to use a naked water tank, but depending on how well it works I may look for additional transfer with copper tubing instead.
Last night I got the stove ready and did a small test run to make sure I could count on the exhaust fan, and there was no trace of smoke inside. I prefer to have everything completely airtight so even though the system is not finished, with positive ventilation it is tight enough to start the drying out process. There was very little heat at the exhaust pipe outside, but at this stage that really doesn’t tell anything since lots of btus are needed to dry it all out.
Once dry the btus will be available for cooking and heating water. One other effect of the moisture is the secondary burn chamber did not function very well, at least I hope that was the issue. I noticed a brief period during the burn when it started to ignite so that was a good sign,but most of the burning occurred in the firebox.
So while more insulation is needed, and the water tank needs to be plumbed in properly, for the time being I have a cooktop, and can continue the drying process.
Here’s the build history thus far
take off watercoil,remove rocket barrel, notice soot–wasn’t burning too clean (except inside the riser, which was still snow white. The batch box I installed last year was made for a 6″ riser, but lining the 8″ riser with “1 inch” ceramic fiber reduced the riser size too much. There also may have been an issue with the port configuration and the way I typically ran the burns. Getting used to the batch box dynamics requires a new mind set over typical managing of the burn in a regular wood stove.
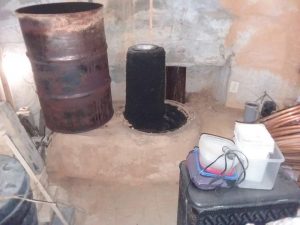 gone with the old and a new platform in it’s place
 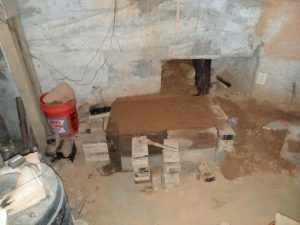 note that I’m working here with wet clay in forms
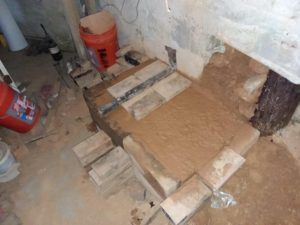
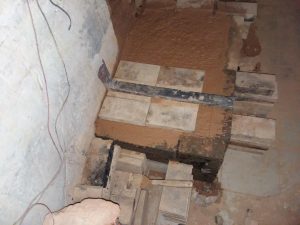 a mock up of the batchbox floor with secondary burn tube. This is the tube I took out of the old batch box, but the new dimensions doubled the size of the tube I had been using for secondary air supply–this may have been part of the problem with excess soot in the old unit
 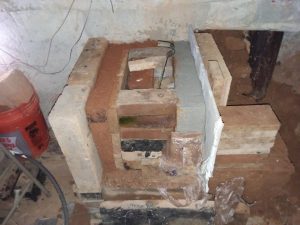 Perlite and clay on the back and left side, refractory cement on the right (shared side with oven) . odd bricks and such inside and out are used as wedges to hold split firebrick liner in place as forms while the clay perlite mix is solidifying
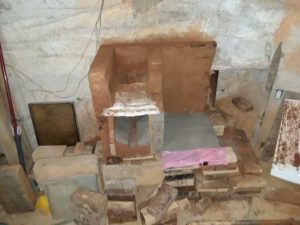 Adding the top secondary burn chamber.
In this picture the floor of the top chamber is ceramic fiber using a bit of water glass as a stiffener, but the final solution was giving a slight slope of the firebrick in the lower batch box reducing the width at the top by approx 1/2″ and precariously using the 1/4 inch or so for support of normal split firebrick. These were secured with a layer of perlite and clay keeping them precisely centered.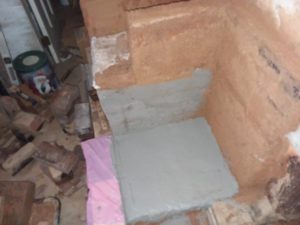 Picture of oven location
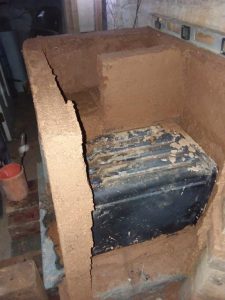 With the oven in place.
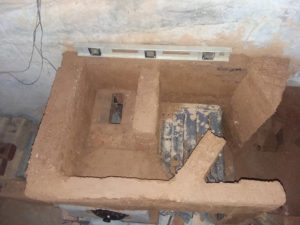 The final configuration with baffles to channel the heat
 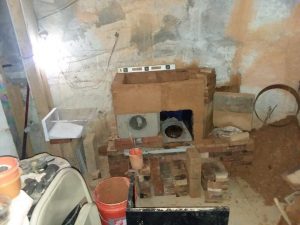 No door on the oven yet, but since the inside of the oven is outside the combustion gas area it won’t stop me from doing a test run, here’s the top gaskets made of ceramic fiber
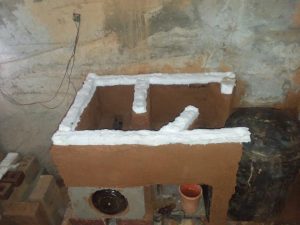
with the stove top and water tank in place 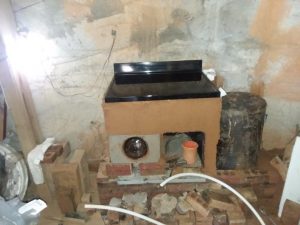
finally with a hurry up enclosure around the water tank 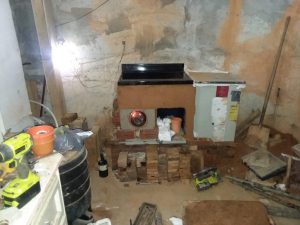 and the first fire, a power vent replaces a draft, and the vent pipe was just comfortably warm outside after a half hour burn
Follow up tests have raised the stove top temperature to 570 F as the clay dries out. Once the temps start to stabilize, assuming a strong secondary burn, I’ll be able to more accurately test the effects of different baffle placements, and actual potential of the design.
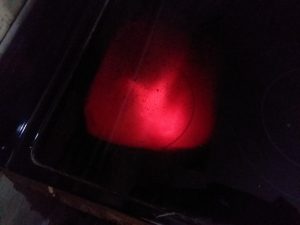 view of secondary flame through top
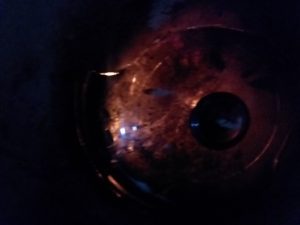
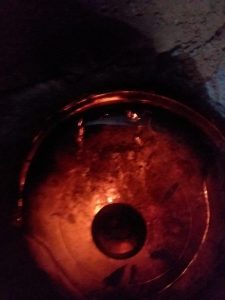 views of firebox
This was taking at the beginning of a burn cycle. During the hotter parts of the burn the flames are a continuous robust splash against the amber colored stove top glass.. temps here are just approaching 900F.
Please note much of the fuel is a bit damp. this slows starting and reduces overall performance.